

Candles are hard to resist. They’re the easiest way to create a cozy and romantic atmosphere and have aroma therapy at the same time.
If you’re someone who just loves candles and loves to use them all year round, maybe you thought about creating your very own.
Whether you’d like to make them just for yourself or friends, or perhaps like to test the waters of a potential business, the best way to start making them is by getting a candle kit. These kits usually have everything you need to make a brand-new scented candle from scratch. You don’t need previous experience, all you need to do is follow the following steps.
What Do Candle Kits Contain?
Of course, it contains wax and the most popular choices are paraffin wax, beeswax, and soy wax. There are also wicks since every candle needs one. You can choose from paper, cotton, zinc, or wood wicks. Then you’ll get fragrance oils; to add a pleasant scent to your candles, you’ll need essential oils or fragrance oils.
There’s also a spatula which is heat-proof to help you stir the melted wax. Most kits come with a heat-proof container. If there is none, you can use Mason jars, glass jars, or tin cans. Remember, the size of the container determines the size of your candle.
A double boiler helps evenly melt the wax. You can either buy one or create your own by placing a metal bowl on top of a pot with a little water.
Your candle kit probably won’t come with a thermometer, but you can use a candy thermometer, digital infrared thermometer, or deep-fry thermometer to measure the wax temperature. Finally, you’ll need popsicle sticks or pencils to keep the wick in place and paper towels to clean up any drips or spills.
Step 1
Prepare the Containers and Your Kit
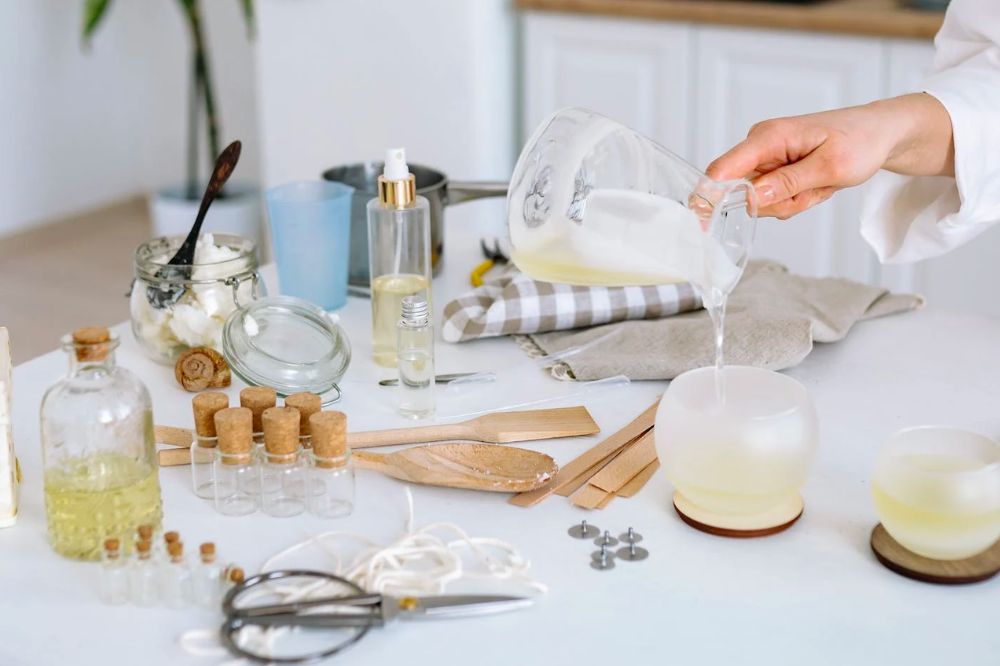
Get ready with your containers and supplies before you start the process. You can buy votive holders or candle jars from a craft store but don’t worry if you don’t have them. Empty Mason jars or tin cans can do the trick too. The important thing is to choose a vessel that you find visually appealing, as most poured candles can’t be moved once they’re in their container and ready to burn.
Before you start, ensure that your candle containers are nice and clean, as well as completely dry. Find a flat surface to place them on. Keep your wicks, fragrance oils, and some Popsicle sticks, chopsticks, or any other wick holders nearby for easy access.
Step 2

Measure the Wax
To gauge the amount of necessary wax, simply pour wax flakes or shavings into your candle containers, which will serve as your candle moulds. Keep in mind that shavings occupy more space than melted wax, so aim for around two candle containers’ worth of flakes per candle.
Step 3
Melt the Wax
To melt the wax, start by pouring your wax shavings or flakes into a double boiler. Then, gently heat the wax while stirring it with a spatula. Make sure to scrape off any wax that sticks to the sides of the pot. Keep an eye on the temperature using a candy thermometer. Paraffin wax usually melts at about 100 degrees Fahrenheit, soy wax at around 51 degrees Celsius, and beeswax at approximately 62 degrees Celsius.
Step 4
Add Fragrances
Now is the right moment to unleash your creativity if you’re into making scented candles. There are various options you can explore. You can opt for single-note fragrances such as bergamot, mandarin, or rosemary to give your candles a distinct scent. Alternatively, you can try pre-blended fragrance oils (they usually come with candle-making kits) like sea breeze or apple pie for a ready-made aroma. If you’re feeling adventurous, you can even experiment with combinations like rose patchouli or lavender sage.
Keep in mind that certain fragrance oils are specifically formulated for candle making. In such cases, it’s best to follow the instructions provided on the packaging. However, if you’re using essential oils, a general rule of thumb is to add around 30 to 40 drops of oil per eight-ounce candle. Take your time while adding the oils and make sure to stir them in with a spatula.
Step 5
Place the Wick
Put a single wick in every candle holder. Attach the wick to the centre bottom of the jar by placing a small amount of wax (or a drop of Super Glue) on the bottom of the wick and allowing it to dry on the jar’s bottom. To ensure an even burn, make sure the wick’s base is perfectly centred in the container.
To keep the wick upright as the wax hardens, you can place two popsicle sticks on top of the jar and sandwich the wick between them before pouring the wax. If you don’t have popsicle sticks, you can use chopsticks, pencils, or butter knives, but make sure not to drip too much wax on them.
Step 6
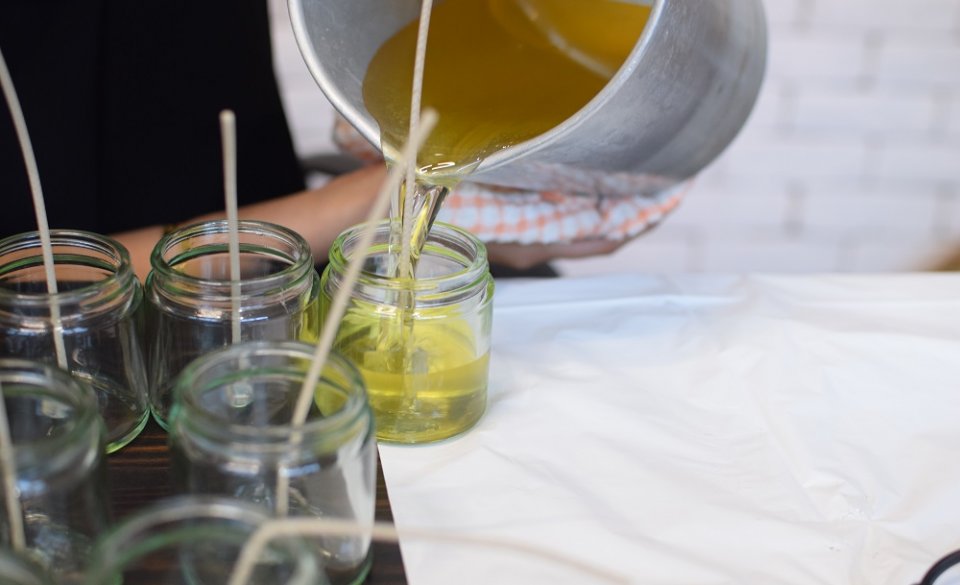
Pour the Wax
Finally, carefully pour the wax, filling the candle container to just below the top of the rim. Pour slowly to minimize air bubbles. Watch out for potential burns. In the end, clean it all up. Cleaning up dried wax can be a bit of a challenge. If you notice any melted wax drips on your work surface or the exterior of the candle mould, use paper towels to wipe them up. For hardened wax spills, hot water can do the trick.

Leave a comment